To change the kitchen faucet, you only need to shut off the stop valves under the sink, drain the pressure by opening the faucet, disconnect the supply lines from the old faucet, loosen the mounting nut from underneath, remove it, place the new faucet with its gasket, tighten it, and reconnect the flexible hoses while checking for leaks.
Changing the kitchen faucet is one of those repairs that seem like a plumber's job, but in most cases, you can handle it yourself in less than an hour. If your faucet is dripping, losing flow, or you simply want to upgrade your sink with a more modern model, this guide will walk you through it step-by-step: what tools you need, how to shut off the water without any mishaps, how to release the old faucet, and how to get the new one installed and leak-free. All product references cited are taken from the actual Merkimarket kitchen faucet catalog.
Key facts before you begin
- Difficulty: medium-low; this is a DIY task manageable without previous experience.
- Estimated time: between 30 and 60 minutes if there are no access complications.
- Basic tools: adjustable wrench or open-end wrench, basin wrench (long socket wrench), bucket, rags, and sometimes a screwdriver.
- Common spare parts: new flexible supply lines and Teflon tape; the new faucet usually comes with its own gaskets.
- Essential: shut off the stop valves or the main water valve before touching anything.
- Faucet type: most kitchens use a single-lever faucet with central mounting; replacements are almost always compatible.
With this in mind, let's organize the task. First the tools, then the step-by-step process, and finally how to choose the right replacement faucet.
Tools and materials you will need
Before you get under the sink, gather everything so you don't have to scramble halfway through the job. The essentials are few: an adjustable wrench or a set of open-end wrenches for the supply line nuts, and a basin wrench (a long, narrow socket wrench) for the mounting nut that secures the faucet from below, which is usually in an awkward spot. Add a bucket or a shallow tray to collect the water left in the pipes, several rags, a flashlight or headlamp, and if your faucet has a screwed-on trim cover, a screwdriver.
As for materials, it is highly recommended to take the opportunity to install new flexible supply lines—they are inexpensive and prevent leaks caused by dried-out rubber—and have Teflon tape on hand to seal the threads. The new faucet usually includes its rubber gasket, support plate, and the nut or anchoring system; check the box before starting.

How to change your kitchen faucet step by step
This is the core of the guide. Follow the order and do not skip turning off the water: it is the error that causes the most disasters.
- Shut off the water. Locate the stop valves or angle valves under the sink (one for cold water and one for hot) and turn them clockwise to shut them off. If you don't have them or they don't shut off properly, close the main water valve for the home.
- Release the pressure. Open the old faucet (both hot and cold) to drain any water remaining in the system. When it stops dripping, the line is depressurized.
- Position the bucket and disconnect the supply lines. Place the bucket underneath. Use the adjustable wrench to loosen the nuts connecting the faucet supply lines to the stop valves. A little residual water will come out; that's what the bucket and rags are for.
- Release the mounting nut. From under the sink, use the basin wrench to loosen the nut (or nuts) holding the faucet against the countertop. This is the most uncomfortable step due to the limited space; a flashlight helps a lot.
- Remove the old faucet. Once loose, pull it upwards from the top of the sink. Take the opportunity to clean the contact area: it usually accumulates limescale and remnants of the gasket.
- Prepare the new faucet. Screw the new supply lines into the faucet (tighten them by hand and give a quarter-turn with the wrench, without overdoing it) and place the rubber gasket at the base.
- Mount the new faucet. Feed the supply lines through the sink hole and insert the faucet into place. Align it straight, then from below, place the support plate and tighten the mounting nut until it is firm and secure.
- Connect to the stop valves. Screw the cold water supply line to its valve and the hot water one to its own. Apply Teflon tape if the thread doesn't have its own gasket and tighten without forcing it.
- Turn the water on and check for leaks. Slowly open the stop valves and check all connections with a dry rag: if it gets wet, tighten it a little more. Let the water run for a minute and monitor the area for the next few hours.
If there isn't a single drop in step 9, you're finished. It's as simple as it sounds when there is good access.
Which replacement faucet to choose
Taking the opportunity to upgrade your faucet is the smart thing to do. Before buying, look at three things: the spout type (fixed, swivel, or pull-out), the finish, and the cartridge. Most current models are single-lever with a ceramic cartridge, the standard that guarantees a smooth shut-off without drips. This table summarizes the most common options:
| Faucet type | Main advantage | Ideal for | Things to consider |
|---|---|---|---|
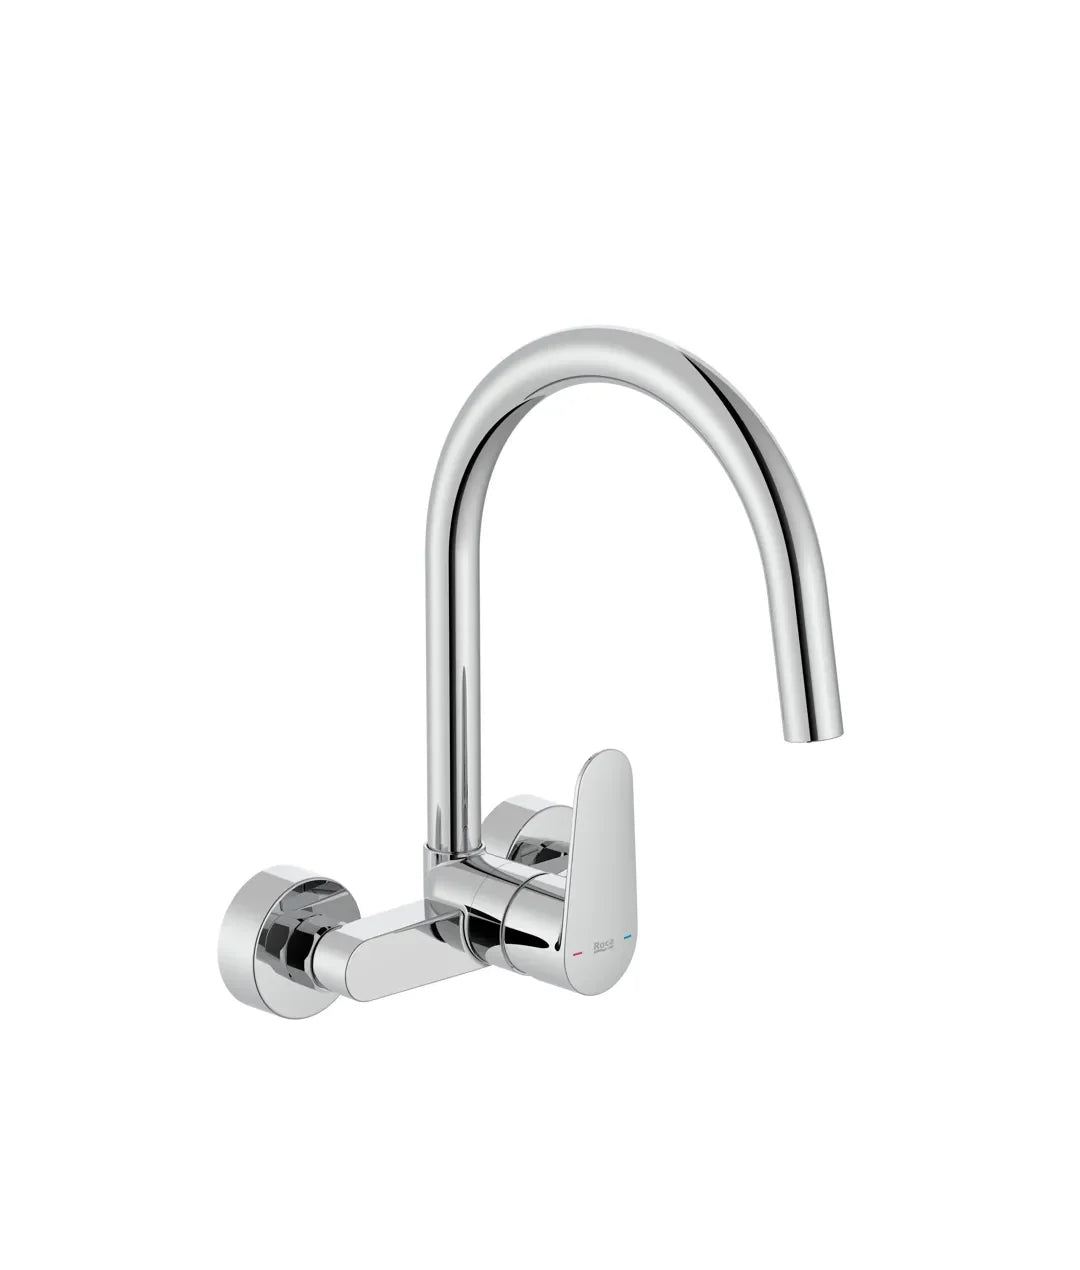
| High swivel spout | Plenty of space under the spout for pots | Daily use and large sinks | Check that it won't hit a wall cabinet behind it |
| Pull-out (dual spray) | Extendable sprayer for rinsing and cleaning | Large sinks and families | Slightly higher price; very practical |
| Flexible spout | Can be aimed in any direction | Small and versatile kitchens | The spring or flex hose requires periodic cleaning |
| Foldable | Folds down to fit under a window | Sinks in front of windows | Less clearance height with the spout folded down |
In our catalog, you will find everything from simple high-spout models, like the Imex Kenia high-spout faucet, to pull-out models with a dual-spray diffuser, like the Imex Bonn pull-out faucet. If you want to compare types and spouts carefully before deciding, our kitchen faucet buying guide will be very helpful.

Check compatibility with your sink
90% of domestic kitchen faucets use a standard central mount through a single hole in the sink or countertop, so the replacement usually fits without issue. Even so, confirm two measurements before buying. The first is the hole diameter: 35 mm is standard, and almost all faucets come with a plate that accommodates minor differences. The second is the thickness of the sink or countertop where the faucet rests, because the threaded mounting rod must be long enough to go through it.
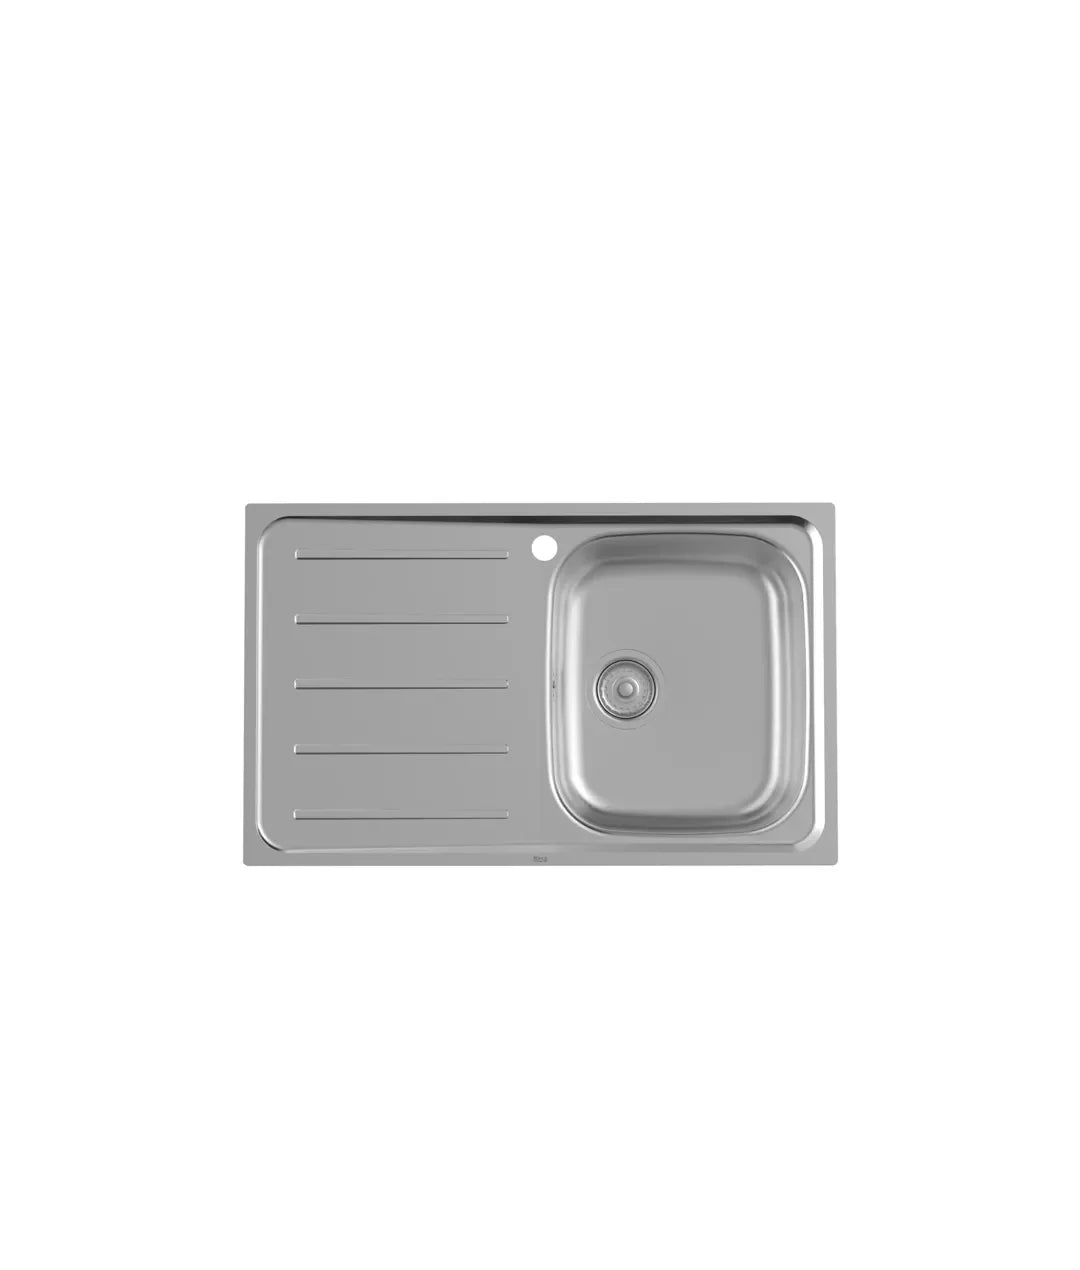
If your current faucet has two water inlets with their own supply lines, the replacement is direct. If it is very old and uses rigid tubing, you might need adapters or to change the angle valves; in that case, it is worth considering professional help. To choose a matching sink or to change it in the same project, check the range of faucets and kitchen accessories available.
Frequent mistakes when changing a faucet
Most problems after a change do not come from the faucet, but from small oversights that are easy to avoid:
- Not shutting off the water properly. Closing only one valve or relying on an angle valve that no longer closes is the number one cause of flooding. When in doubt, shut off the main valve.
- Overtightening. Stripping the threads on the supply line nuts or the mounting nut damages the gaskets and causes exactly the leak you were trying to avoid. Firm, but don't force it.
- Reusing old supply lines. Rubber dries out; a new flex hose costs little and prevents a slow drip that is hard to detect.
- Forgetting the base gasket. Without the rubber gasket between the faucet and the sink, splashed water will seep into the cabinet below.
- Not checking for leaks carefully. Some leaks appear only under pressure or after a few minutes; check the dry connections before finishing the job.
When it is best to call a professional
Standard replacement is within anyone's reach, but there are situations where it pays to turn to a plumber. If the stop valves are seized and won't close, if the installation is old and uses rigid lead or copper piping without individual valves, or if, while disassembling, you discover stripped threads or corrosion on the connections, the intervention becomes complicated and poor tightening could end in a major leak. It is also reasonable to delegate if you are going to mount a faucet with osmosis, a sensor, or a filtered water tap, which add extra connections. In all other cases, with the tools in this guide and some patience, the job is perfectly manageable at home.
Maintenance for longevity
Once installed, a few simple habits will extend the life of your faucet for years. Clean it with a soft cloth and water; avoid scouring pads and abrasive products that scratch the finish, especially on matte black, brushed gold, and other colors. If you notice less water coming out, the culprit is almost always the aerator (the nozzle at the tip of the spout): unscrew it, remove the limescale with vinegar, and put it back. And if over time the single-lever handle starts to drip or becomes difficult to move, the standard practice is not to change the entire faucet, but to replace the ceramic cartridge, an inexpensive part. For that type of repair, our guide on how to fix a dripping faucet can help.

Frequently Asked Questions
Can I change the kitchen faucet myself?
Yes. In most kitchens, the faucet uses a central mount and flexible supply lines, so it is enough to shut off the water, release the connections and the anchor nut, and mount the new one. It is a medium-low difficulty DIY task that can be resolved in less than an hour.
How long does it take to change a kitchen faucet?
Between 30 and 60 minutes if access under the sink is comfortable and the stop valves shut off well. If you also have to change the supply lines or the angle valves, or if the space is very tight, it may take a little longer.
Do I need to shut off the water to the whole house?
Not always. If you have individual stop valves under the sink and they close correctly, simply closing them is enough. You will only have to shut off the main valve if there are no stop valves or if they are seized and won't seal.
Which replacement faucet should I buy?
A single-lever model with a ceramic cartridge and standard central mount, which is compatible with almost any sink. Choose the spout type according to your use: high swivel spout for pots, pull-out if you want a sprayer, or foldable if the sink is under a window.
Article written by the Merkimarket editorial team. Product references (spout types, finishes, and cartridges) are taken from the sheets in the Merkimarket kitchen faucet catalog. Prices and availability may vary; consult each sheet for the current information in Spain.