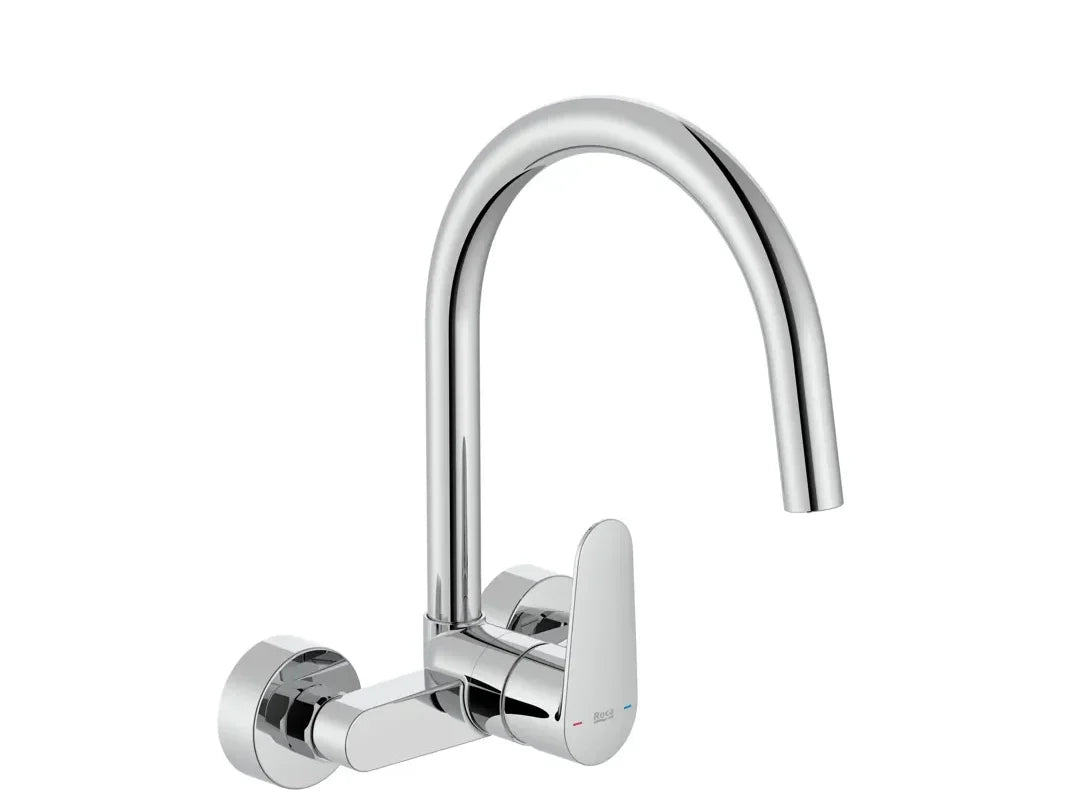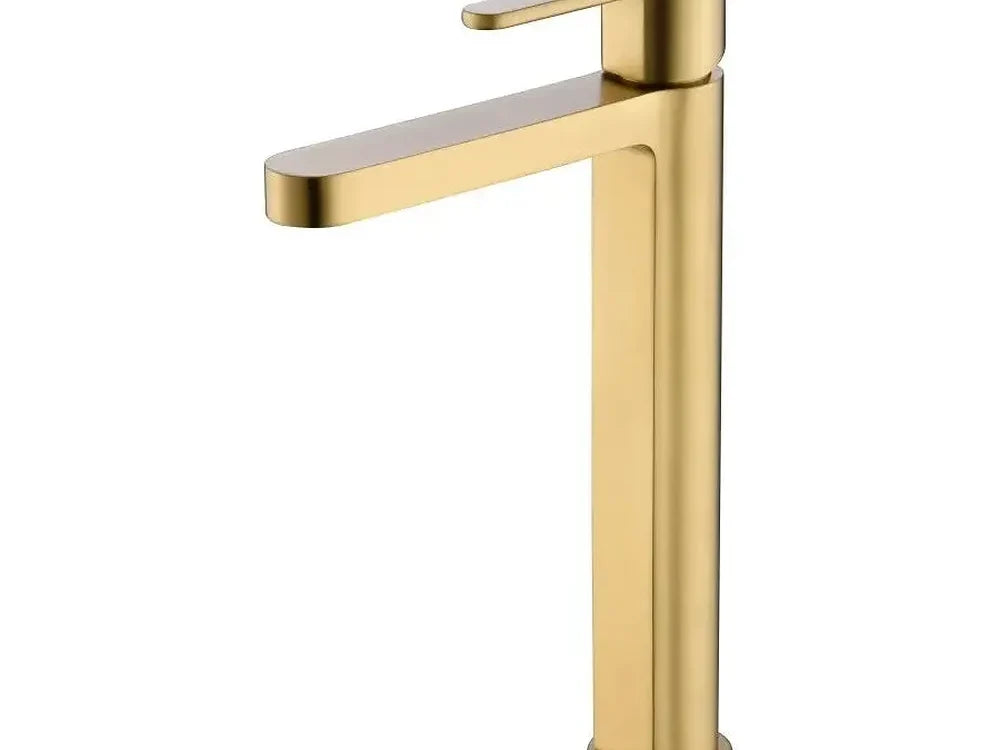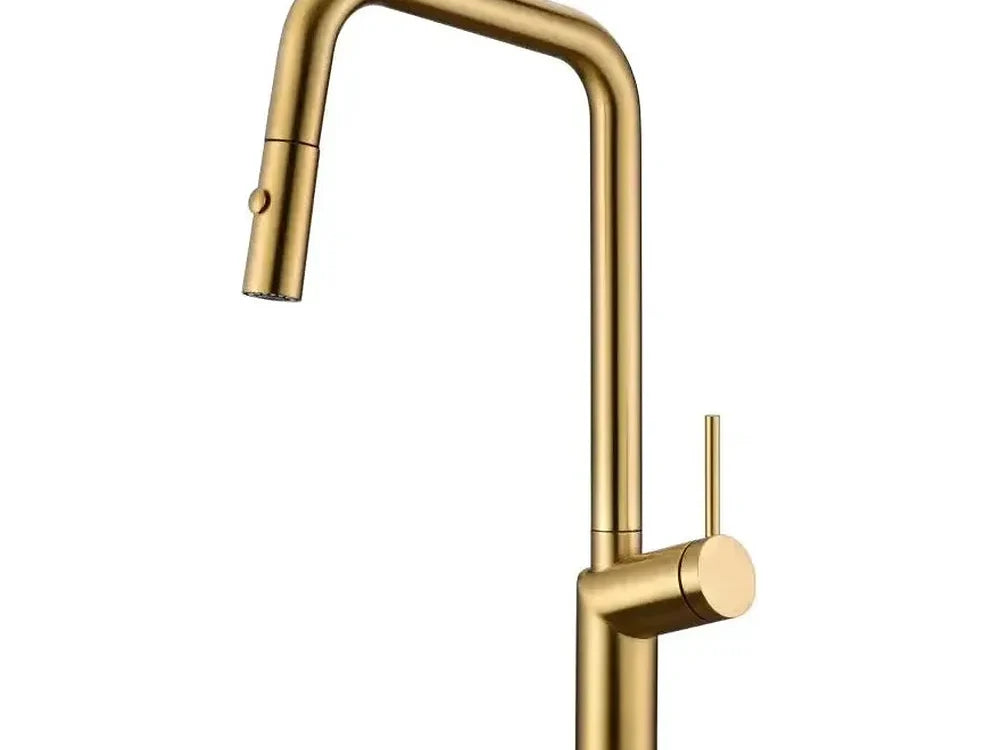
A dripping faucet is almost always due to a worn internal part (the ceramic cartridge or disc in a single-lever faucet, or the washer and seat in a classic two-handle faucet), and it is repaired by shutting off the water with the stop valve, dismantling the head, and replacing the worn part with an equivalent one.
Key facts
- The most frequent cause is wear of the cartridge (single-lever) or the rubber washer and seat (classic two-handle faucet).
- Before touching the faucet, you must shut off the water from the nearest stop valve, not just the main one for the home.
- A drip from the spout usually indicates the cartridge or washer; a drip from the base of the handle usually indicates a dried-out O-ring.
- Modern single-lever faucets use ceramic cartridges that cannot be repaired with individual parts: the entire cartridge is replaced.
- A well-maintained ceramic cartridge lasts for several years; wear is accelerated by very hard water.
- If the dripping persists after changing the internal part, the problem may be in the faucet body seat, not the replacement part.
First step: diagnose where the water is coming from
Before taking anything apart, observe exactly where the faucet is dripping from with the handle closed. If water is coming out of the spout, the part responsible is almost always the cartridge (in a single-lever faucet) or the rubber washer (in a classic screw-type faucet). If, however, water is seeping from the base of the handle or around the body when the faucet is open, the problem is usually a dried-out or cracked O-ring, not the closing mechanism. Properly diagnosing this first point prevents buying and changing the wrong part.
Before you begin: shut off the water
Locate the specific stop valve for that point (usually under the sink or behind the cabinet) and close it; if the faucet does not have its own valve, shut off the main water valve for the home. Then, open the faucet to drain any residual pressure from the pipe before removing any parts, and keep a rag and a small container handy, as there will always be some water left in the faucet body.
Repairing a single-lever faucet (ceramic cartridge)
- Remove the decorative plug from the handle (it is usually removed by pressure or with a screw hidden underneath) and loosen the screw that secures the handle to the cartridge.
- Lift the handle and, if present, remove the housing or trim covering the cartridge.
- Unscrew the nut that secures the cartridge to the faucet body and extract the entire cartridge by pulling upward.
- Compare the old cartridge with the new one before finalizing the purchase: the diameter and height must match exactly, not just the faucet brand.
- Place the new cartridge in the same orientation as the original, tighten the fixing nut, and reassemble the handle and trim in reverse order.
- Open the stop valve little by little and check that there are no leaks before considering the faucet repaired.

Repairing a classic two-handle faucet (washer and gasket)
In traditional screw-type faucets, the element that wears out is the rubber washer located at the end of the stem, which acts as a seal against the body seat. To replace it, shut off the stop valve, unscrew the entire head from the faucet body, extract the stem, and locate the small screw that holds the washer at its end. Replace the washer with one of the same diameter and thickness, also check the stem O-ring if it is dried out or cracked, and reassemble the unit in reverse order before turning the water back on.
| Symptom | Likely part | Faucet type |
|---|---|---|
| Drips from the spout | Ceramic cartridge | Single-lever |
| Drips from the spout | Rubber washer | Classic two-handle |
| Seeps from the handle base | O-ring | Both |
| Low flow or irregular spurts | Aerator clogged with limescale | Both |
When the problem is the aerator, not the mechanism
If the faucet is not dripping but the flow is weak, irregular, or has uneven pressure, the aerator (the metal mesh at the tip of the spout) is usually clogged with limescale. It can be unscrewed by hand or with pliers protected by a rag, cleaned by soaking it in vinegar or an anti-limescale product for a while, and rinsed before being reassembled. This is the simplest repair of all and should be ruled out before dismantling the cartridge.

When to call a plumber instead of repairing it yourself
If the faucet continues to drip after changing the cartridge or washer, the faucet body seat is likely damaged or pitted by limescale. In that case, simply changing the internal part is not enough: the seat needs to be ground down with a specific tool or the entire faucet must be replaced. It is also advisable to call a professional if the stop valve is seized and does not close properly, because forcing it can break it and make the repair much more complicated.
Frequently asked questions
Are all single-lever faucet cartridges the same?
No. They vary in diameter, height, and mounting system depending on the manufacturer and model, so you must physically compare the old cartridge before buying a new one; the faucet brand is not enough.
Can I repair a thermostatic faucet myself?
The thermostatic cartridge is replaced using a procedure similar to that of a single-lever faucet, but since it has a more complex temperature regulation mechanism, it is advisable to strictly follow the manufacturer's instructions or use an installer if you do not have prior experience.
Why does my faucet start dripping again a few months after changing the cartridge?
This usually indicates very hard water that wears out the cartridge prematurely, or a lower-quality cartridge compared to the original; in hard water areas, it is advisable to check and clean the cartridge periodically, even if it is not dripping.
Is it normal for a new faucet to drip slightly for the first few days?
It should not. If a newly installed faucet is dripping, first check that the connection gaskets and nuts are tightened properly before assuming that the internal part is defective.
Parts and replacements at Merkimarket
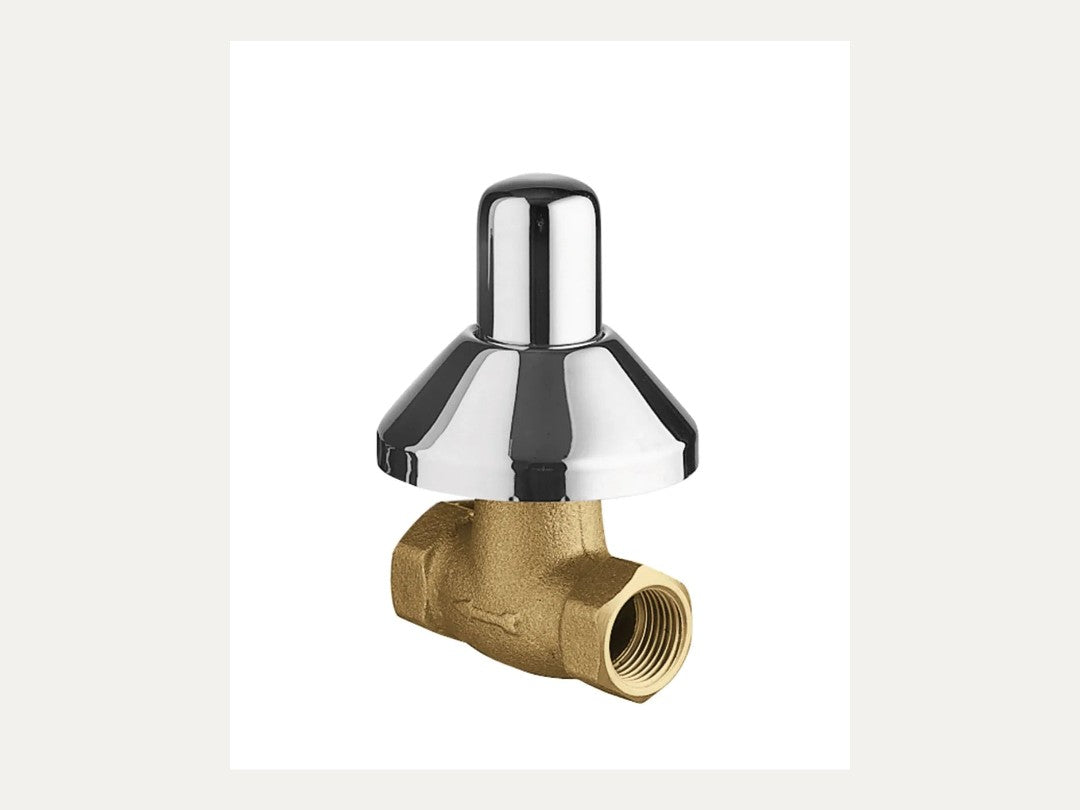
In our bathroom faucet replacement collection you will find spare parts such as the TRES wall-recessed stop valve, useful for shutting off the water at a specific point without affecting the rest of the home, and the TRES recessed body for basin faucets with moisture-proof seal if the repair leads to replacing the entire body.
If after the repair you are considering changing the faucet instead of continuing to repair it, you may be interested in our guide Single-lever or thermostatic faucet: which to choose for the shower, and if your faucet is recessed, also check IMEX recessed faucets: series, advantages, and what you need before installing.
Guide prepared by the Merkimarket editorial team based on manufacturer technical data sheets and the installation experience of our suppliers.